hope your Friday evening is as awesome as mine...since I get to hang out with my Girl:
in pajamas...eating chips and apples dipped in caramel...and playing games! I can be serious or busy or have errands tomorrow...tonight...we chill!
Pages
▼
Friday, November 30, 2012
Tuesday, November 27, 2012
Amy Butler Cameo Sew-a-long...Episode 4!
Welcome to Episode 4 of my project for the Amy Butler Cameo Sew-a-long! You can see how I arrived at this point by taking a look at Episode 1, Episode 2 and Episode 3!
In this episode...I get the bag put together (and have a little second guessing of myself!)... :)
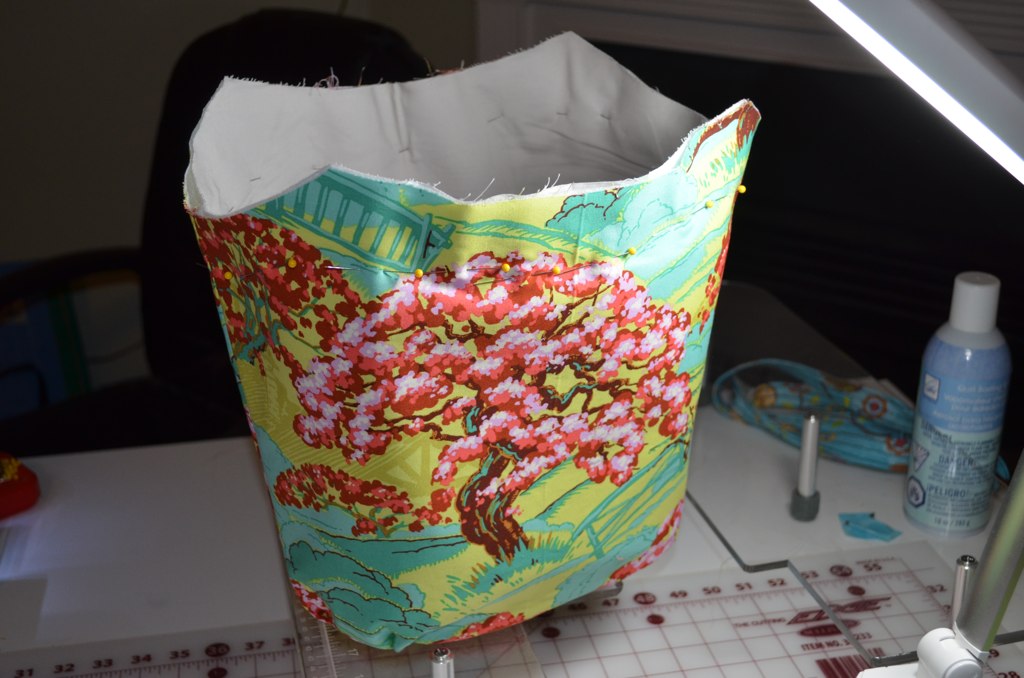
Up first...After getting the exterior and lining pieces all pieced...it was time to get the two put together...and this involved more pinning...again...my LEAST favorite thing to do...but fear not...I pinned (and poked and pricked my fingers quite a few times...but that's a different story entirely!) like nobody's business!
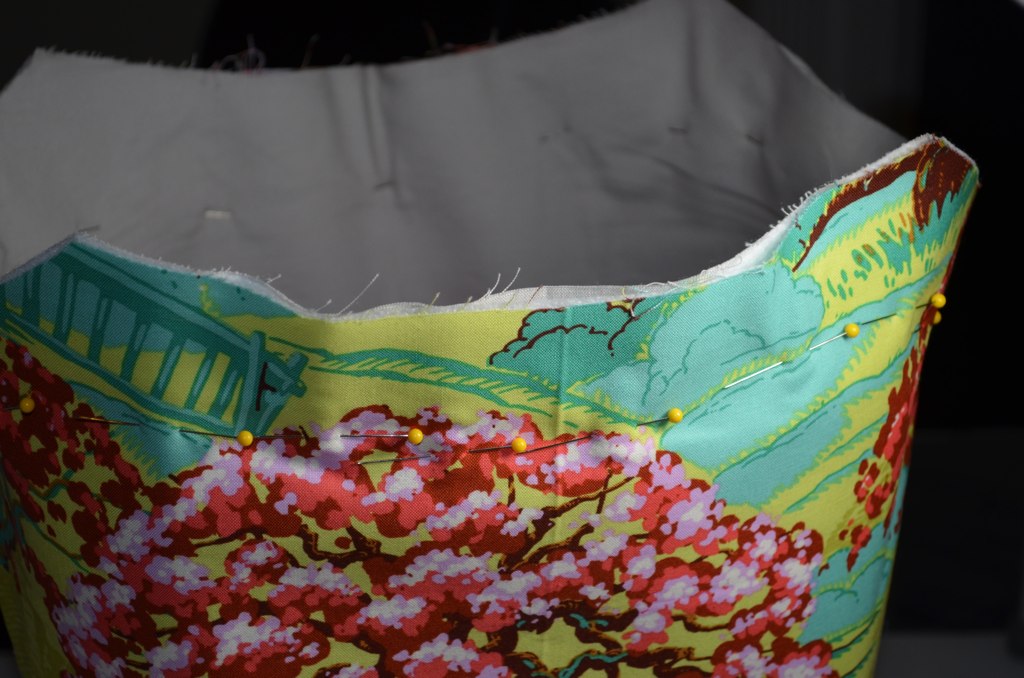
and a close up...like I said...there was much pinning happening!
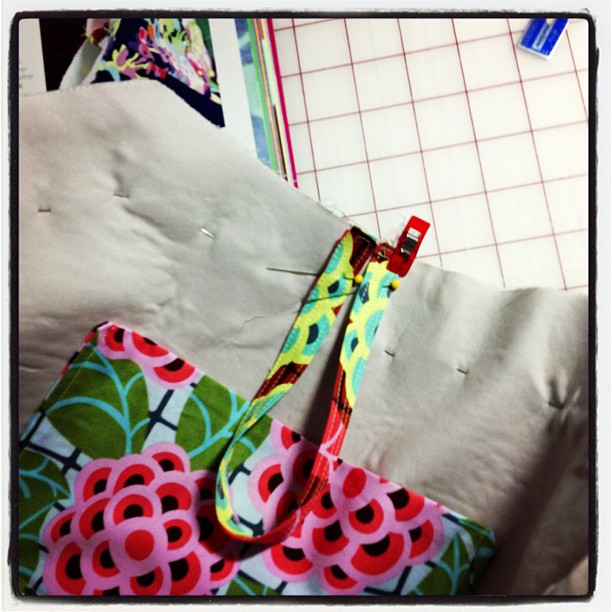
and then...one piece at a time, up first, the button loop:
and then I sllooowweddd my machine down so that I would have more control over the next steps:
And it was time to add one of the bias binding strips to one side:
and then prepped for topstitching:
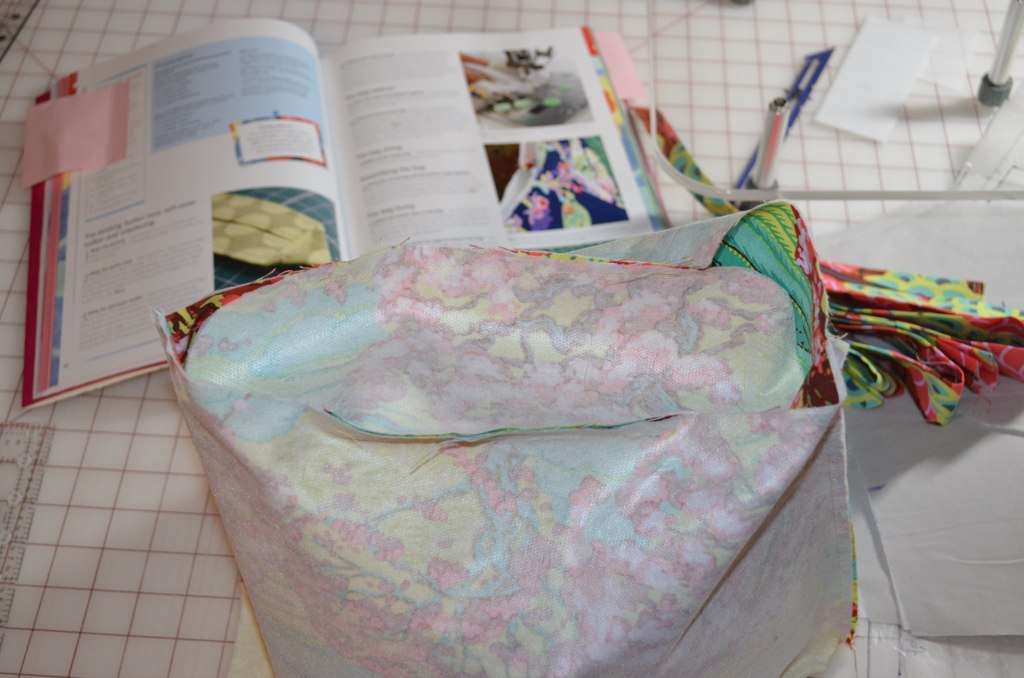
and did the same on the other side, and stitched the button loop going in the proper direction, and here is where I ended up:
and this is also where I started to second guess my fabric selection (not the main body fabric...but the binding fabric)...not sure it was enough contrast to really pop...and then I said...oh well now! LOL! So that's it for this episode...next up...the grand finale!
15 minute challenge...week 20!
Hope everyone had a Happy Thanksgiving (for those in the US), otherwise, hope you had a happy and productive week! Here we go:
Tuesday: none
Wednesday: none
Thursday: none
Friday: still none
Saturday: even more NONE
Sunday: none
Monday: hexies!
for a grand total of 1 of 7 days! Go ME! I had the flu last week...no sewing accomplished. I did order fabric on Friday...does that count? Oh well...I'm back on my feet and soon to be back on track! Linking up over at Life in Pieces!
Thankfully due to all of the sewing I got done in the previous weeks, I actually have a post or two stashed. The next "Episode" in my Amy Butler Cameo Sew-a-long will be up later today or tomorrow...and I should actually have the project finished tonight!
Monday, November 26, 2012
3 little letters
that when put together in just the right order...mean your day (and the next) is going to be very, very bad. This happened to me last week...the three little letters were U, and an L and an F...when in the right order...spelled FLU. The best part...yes...I did get my Flu shot this year (have for over ten years now...first time to get the Flu even with the shot).
Yeah...that's right...down for the count...and Thanksgiving...with the FLU. It was not fun...at all...and with Guy working crazy hours (all at night)...I was pretty much on my own. Thankfully Girl was off most of last week to hang out with me and get me popsicles when I needed them to soothe the sore throat...or grab the NyQuil...or another box of tissues...and then some cold water...and to make me Ramen (ramen noodles are the cure-all in my house)...and well pretty much to be the most AWESOME child on the planet.
I was almost on my feet by Thursday morning...so I coached her through getting the Turkey ready...which was a last minute purchase on Wednesday evening when Guy realized we were not going to my Mother's the next day to eat.
By Saturday I was able to leave the house, so Girl and I did a little shopping...then lunch (I had to take a break...I was very quickly worn out!) and then we hit the movies to see "Rise of the Guardians" (I HIGHLY recommend this movie...it was really good!). So I made up for the blah of hanging out with the sick Mom for 4 days. I really am pretty darn lucky to have such an amazing kid. (Guess she's on the NICE list this year!).
And now it's Monday, and I went back to work...and am exhausted, but at least I can fix dinner myself today...maybe...there is Pizza that can be ordered..after all...wouldn't want to do anything TOO drastic...
Tuesday, November 20, 2012
Amy Butler Cameo Sew-a-long - Episode 3!
Welcome to Episode 3 of my project for the Amy Butler Cameo Sew-a-long! You can catch up by checking out Episode 1 and Episode 2!
In today's episode...Bias Tape (inner scream of horror!) and putting things together! I'm using the Reversible Bucket Bag (mine won't be reversible) pattern from The Bag Making Bible by Lisa Lam.
First up...Bias tape!
In today's episode...Bias Tape (inner scream of horror!) and putting things together! I'm using the Reversible Bucket Bag (mine won't be reversible) pattern from The Bag Making Bible by Lisa Lam.
First up...Bias tape!
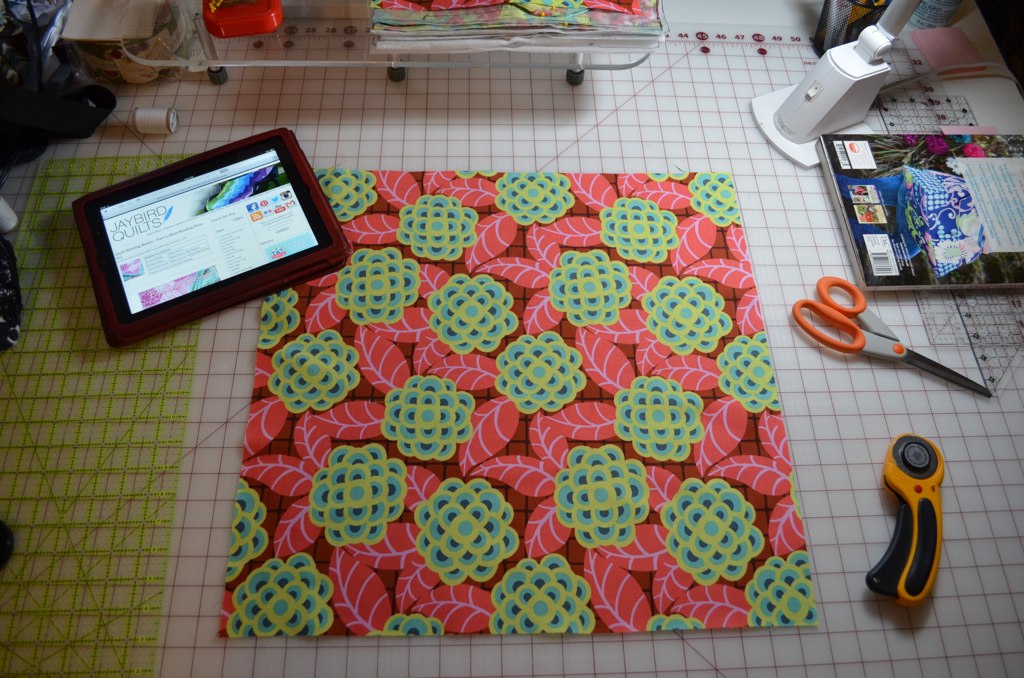
Another confession to be made here...I've never cut fabric on the bias before, nor made bias tape, and really wasn't feeling the whole "buy another tool" thing... so I did a bit of internet browsing...and kinda figured out what needed to be done! (there was a bit of info in the book, but not necessarily enough for a true novice in the bias binding/tape arena). I used this tutorial at Jaybird Quilts to get me going.
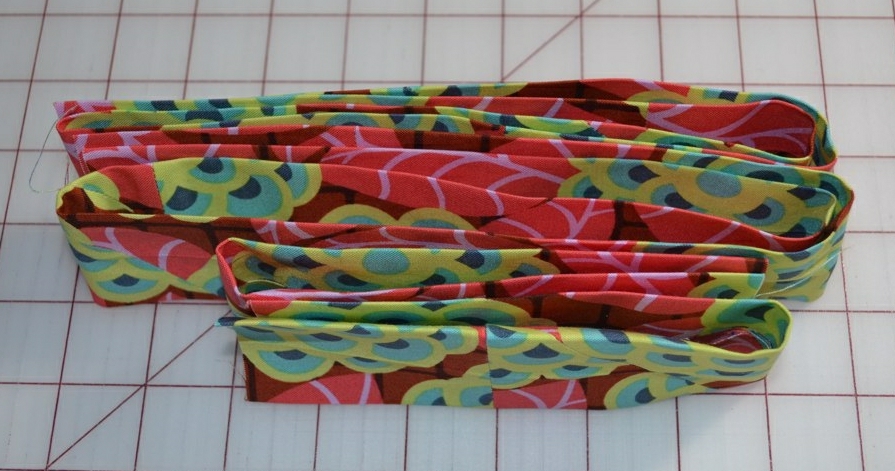
(and man was I nervous to actually cut into the fabric!). And here is what I ended up with:
(and man was I nervous to actually cut into the fabric!). And here is what I ended up with:
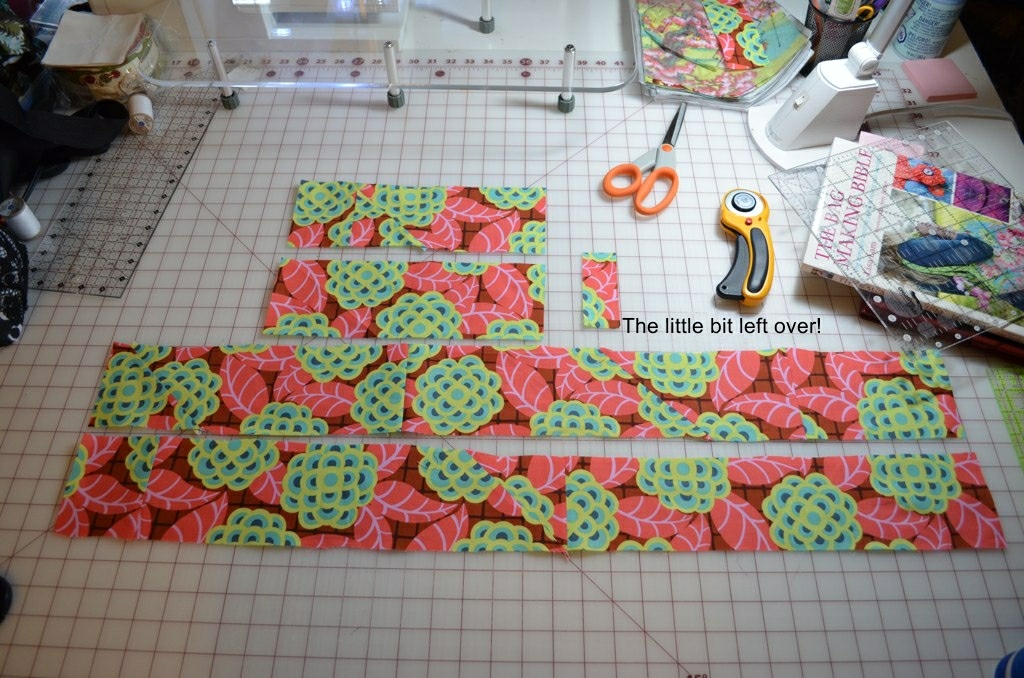
woohooo! Success! I used Julie's calculation (as explained in the tutorial) and was CONVINCED that I didn't have enough length once I got everything done...but sure enough...exactly PERFECT! I had about 1-2" left over (you can see it in this pic):
once I got over the weird-o pinning and how awkward it all seemed...it went halfway decent! (and surprisingly...I will try it again!)
once I got over the weird-o pinning and how awkward it all seemed...it went halfway decent! (and surprisingly...I will try it again!)
Then it was finally time to actually start putting together a bag! Now...the instructions have been pretty good so far...and the exterior pieces went together WAYYY easier than I thought they would (the base piece went on really much easier than I could have imagined!).
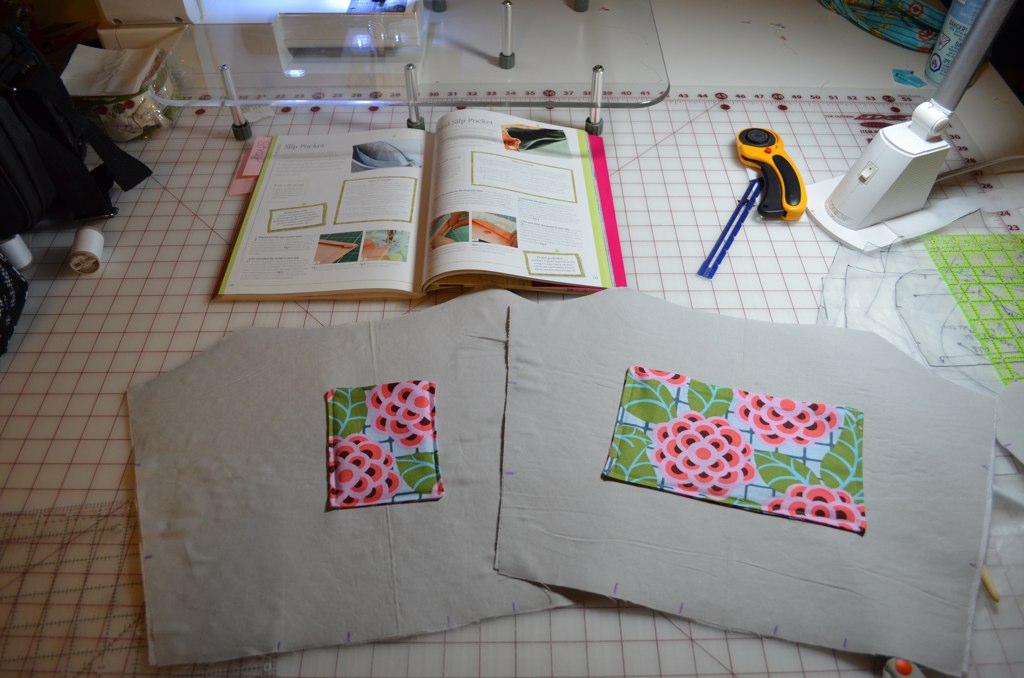
The ONLY thing I wish had gone a little better is if I had remembered to make the pocket before I fused the fleece to the lining!
But it worked out in the end! So now I have a bag exterior...
and a bag lining (with pockets!)...
up next...putting it together! See ya soon with Episode 4!
The ONLY thing I wish had gone a little better is if I had remembered to make the pocket before I fused the fleece to the lining!
But it worked out in the end! So now I have a bag exterior...
and a bag lining (with pockets!)...
up next...putting it together! See ya soon with Episode 4!
Fifteen Minute Challenge...Week 19!
Wow! The weeks are really flying! Here we go:
Tuesday: Scrappy Stash QAL
Wednesday: none
Thursday: Scrappy Stash QAL - finish
Friday: pillow, rainbow strings, HST BOM
Saturday: Rainbow strings, bag (pieces cut out...but then had to pull apart the one piece I'd sewn...so it's in a time-out!)
Sunday: Cameo Sew-a-long
Monday: Cameo Sew-a-long
Not bad at all! 6 of 7 days! And I have finished at least 1 Christmas present, am about 75% of the way on another, AND I'm squeezing in a little something for me! (Cameo sew-a-long bag is all mine!). Linking up at Life in Pieces to see how everyone else is doing this week!
Sunday, November 18, 2012
Amy Butler Cameo Sew-a-long - Episode 2!
Welcome to Episode 2 of my project for the Amy Butler Cameo Sew-a-long! See Episode 1 here.
On today's episode...we hold fabric auditions and make a selection...and then...we pin!
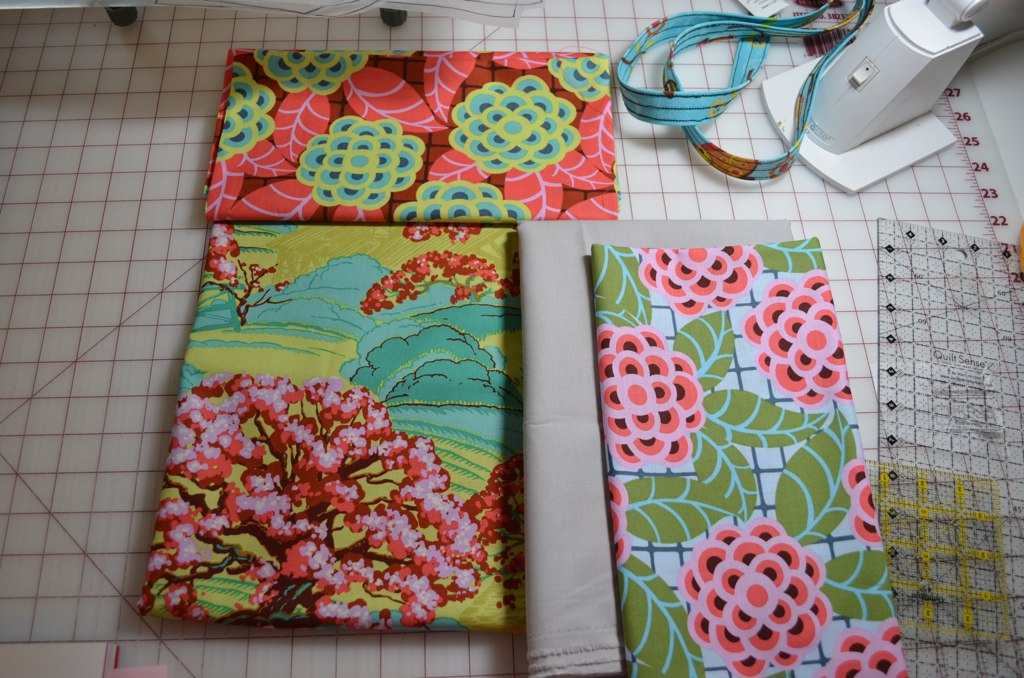
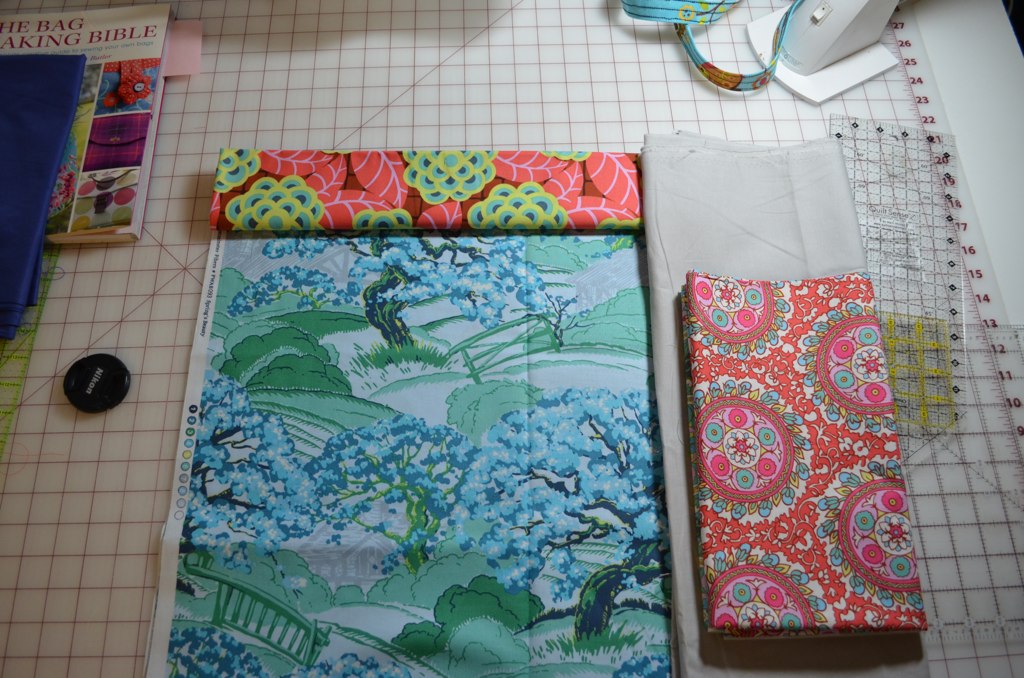
Ok...so I was having a really hard time deciding what fabric was going to go where on my bag. So I started laying them all out, here are some of my favorite nominations:
Now, this bag, as written, is a reversible bag (pattern from The Bag Making Bible by Lisa Lam). However, I am not all keen on a reversible bag...and I need pockets...so I'm modifying the pattern a bit. Which made one bit of this fabric selection process easy...the lining. I am using Kona Ash for the lining (love the color) with a bit of Cameo for the pocket.
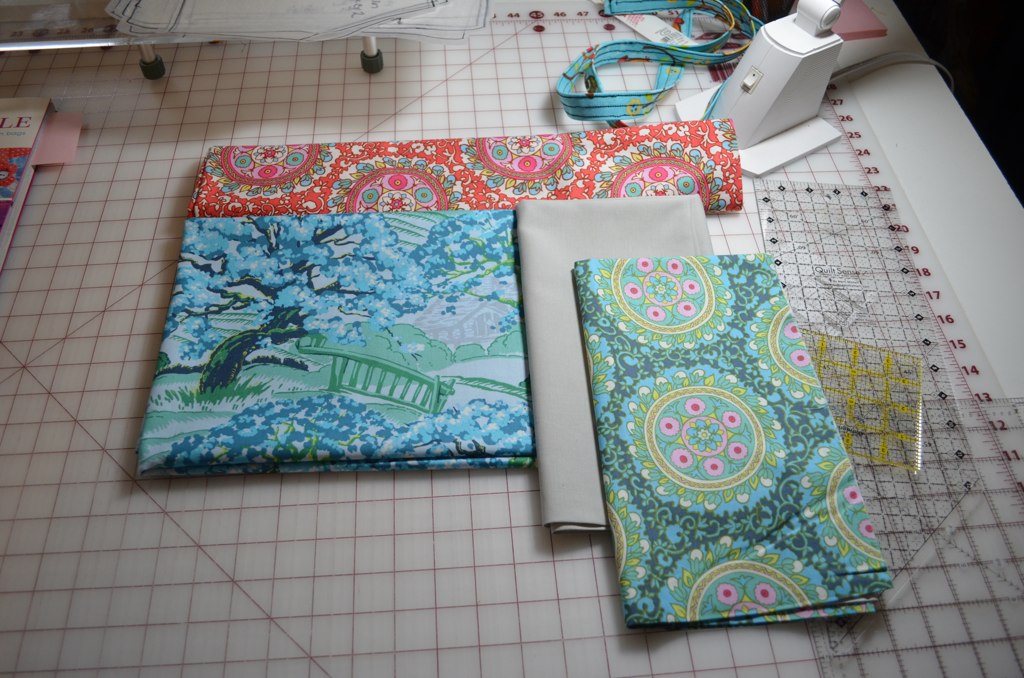
In the end...thanks to some assistance from Girl...I settled on this set:
(squeallll! so excited!)
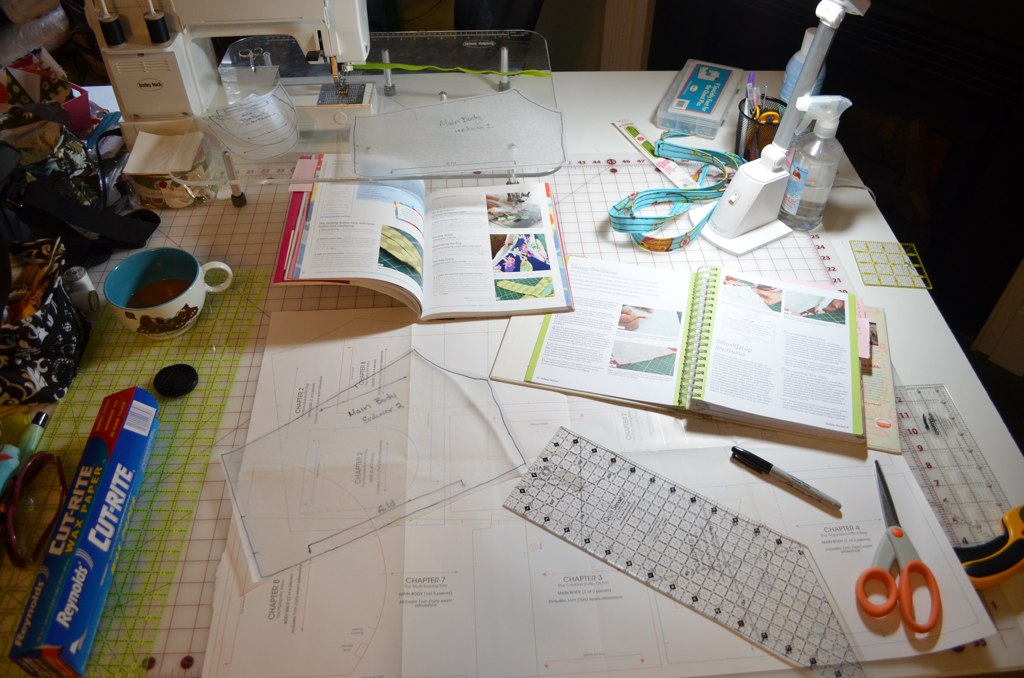
Once the fabric was all selected I got to my LEAST favorite part of any sewing project...patterns and pinning. I'm not a big pattern kinda gal...as in a pattern you have to pin to anything and cut out (previous terrible experience) and I HATE pins...hate hate hate pins! Well...I sucked it up...pinned like there was no tomorrow...and cut out all my pieces!
No worries...I actually used more pins (quite a bit more!) than you see in the above pic. and now...time to get to work putting it together...and cutting fabric on the bias (that should be interesting!). See you in Episode 3!
Amy Butler Cameo Sew -a-long - Episode 1
Welcome to episode 1 of my project(s) for the Amy Butler Cameo Sew-a-long!
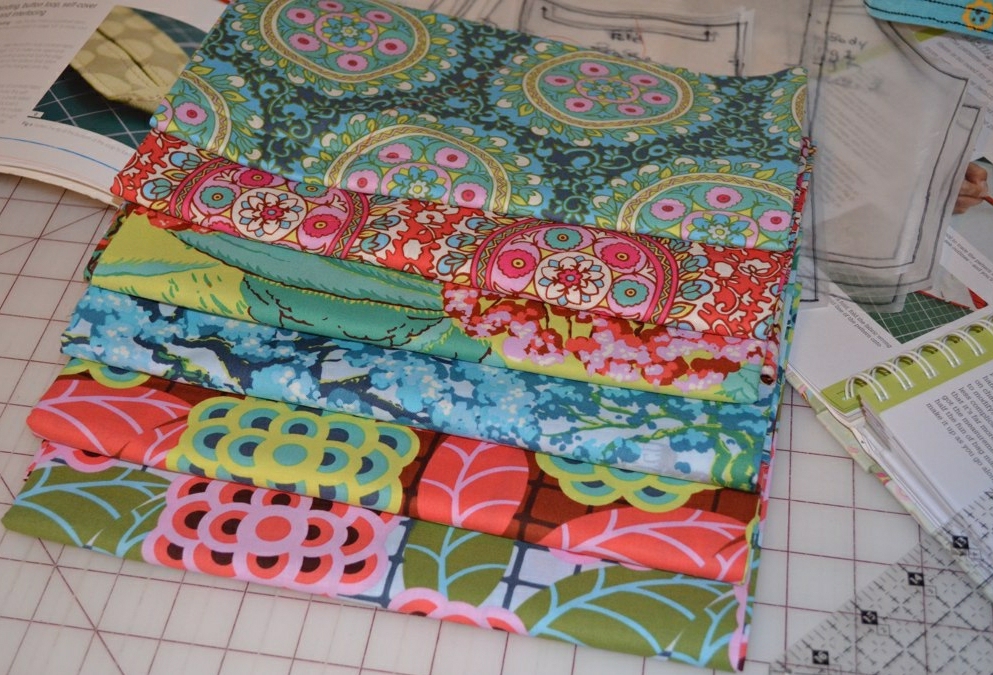
Before I get into too much detail...I have a confession to make...until a few weeks ago...I had never purchased any Amy Butler fabric (deep breath everyone). For whatever reason, as much as I loved the colorways and the patterns...I never had actually gotten around to it! Until I placed an order with Pink Castle Fabrics (great shopping experience btw!)...and well...here is what I have:
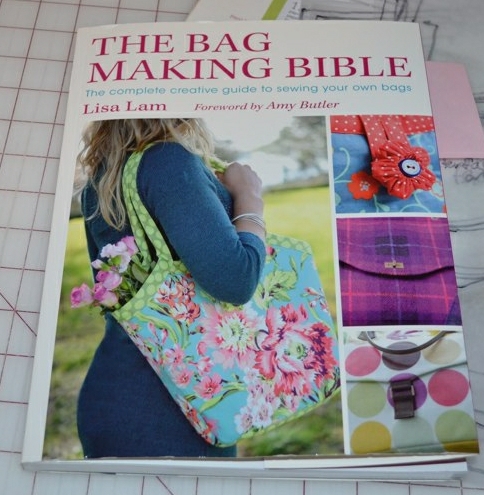
All from Amy's Cameo line. I love them! I have stared at them, rearranged them, held them up, but haven't quite figured out what to do with them! Until yesterday...when I picked up this fabulous book:
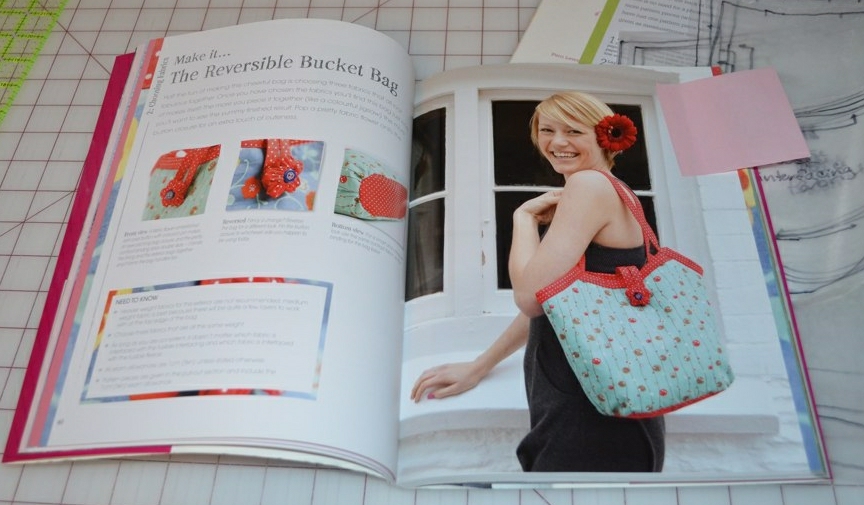
and saw this fantastic bag:
and BINGO! I knew what I was going to do! So this morning...I got to work:
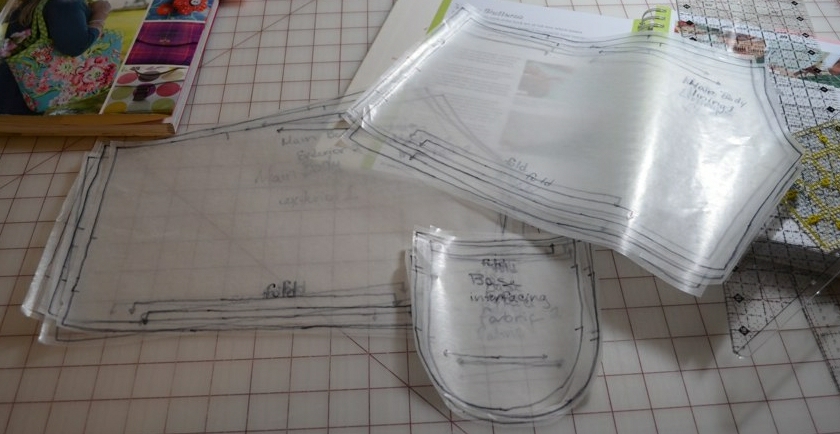
and I have all of my pattern pieces traced and cut-out (I have multiples traced and cut out...it always works easier than reusing for me...I'm odd like that):
but still no idea which fabric is going to be which piece!!! urk! So now it's time to sit and stare some more, rearrange the stack again...and hopefully...make a decision! Stay tuned for Episode 2!
Saturday, November 17, 2012
FNSI...the results!
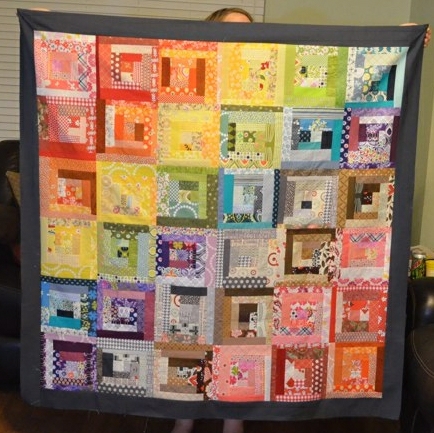
I got a bit of stuff done last night for Friday Night Sew In, and I'm really pleased! Part of what I worked on was for a Christmas gift for someone...and the other...well, it was for me! To accompany my Scrappy Stash QAL Rainbow quilt...I've been working on the Rainbow Strings quilt...and I have had all of the individual blocks done since November 4th...but I had only pulled the paper off a few and sewn the larger blocks together on a few...well...last night I got all the big blocks sewn together (and paper removed...worst part!) except for one (brown), and here they all are (I sewed them into rows today):
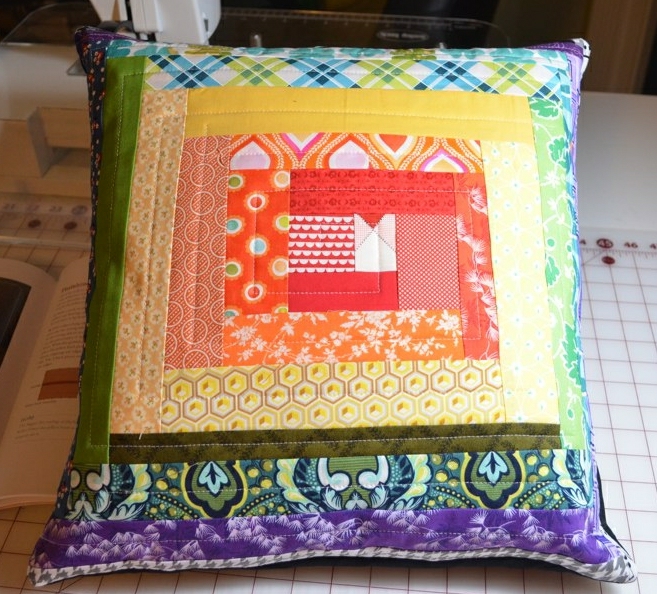
And because I've been in serious love with both of the rainbow quilts...and they are both designated for others...I made myself a little (16x16 so not tiny) rainbow for myself yesterday:
I love this pillow...it sits in my spot on the couch (or in my lap) and no one else is allowed to use it...where I can see them at least!
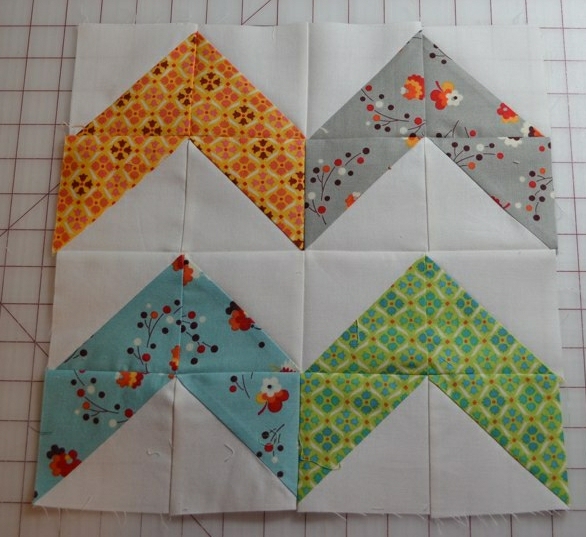
and the last bit that I finished up last night was the October HST BOM!
Only November left to get all caught up! And then all that's left is the December block...which will be out soon...HOW IN THE WORLD IS IT ALREADY THAT LATE IN THE YEAR???? ack! too much to do...and already...too little time! See ya!
Friday, November 16, 2012
15 minute challenge...Week 18!
Hello all! When did it get to be Friday??? I'm so behind...so this update is for November 6 - 13. It was a slightly less crazy finish to the week, but the start of the week was insane! Had a fantastic quick trip out of town, so no sewing early in the week, but I think I did pick back up over the weekend!
Tuesday: none
Wednesday: none
Thursday: none
Friday: none
Saturday: Scrappy Stash QAL - started quilting
Sunday: Scrappy Stash QAL - started over on the quilting
Monday: Scrappy Stash QAL - quilting
Linking up at Life in Pieces to see how everyone over there is doing with their 15 minutes!
and since it's Friday...and I actually have the day off...time to sew! (and it's Friday Night Sew In night!)
Thursday, November 15, 2012
Scrappy Stash QAL - FINISHED!
Finished!!! The quilt that didn't want to be finished...is FINISHED! (and just under the wire to share over at Ellison Lane Quilts!)
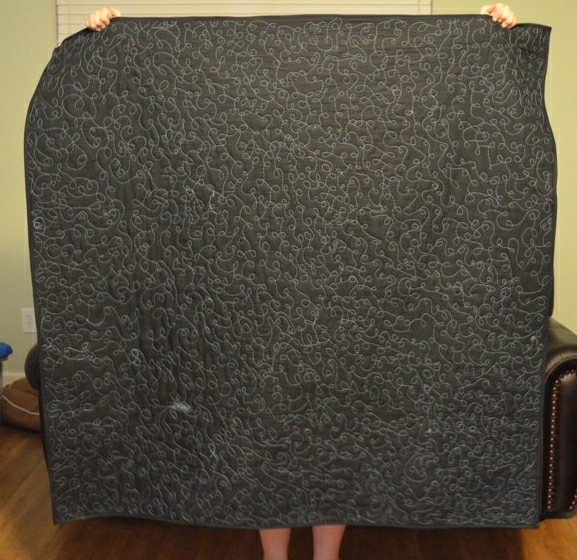
So love this quilt, even though it really wanted to be the death of me! (or my machine!). I finished the top on November 4th. And because I tend to procrastinate and am easily distracted...it sat there for a bit (well, I did go out of town for a few days too...) until this weekend when I told myself I HAD to get it finished! So then began the journey of attempting to quilt this puppy (after I got enough backing fabric...but that story is so minor compared to the quilting journey!). So I picked up some lovely variegated thread (Guterman) to quilt this one with...the backing is black, so I wanted a color that would "fade" in a bit on the front, but really pop on the back...and I thought I found it. Well, if you've seen this post...it didn't work out...at all. I was attempting a free motion swirly/loopy/thingy pattern...and my top thread was breaking every few minutes...so as I went, I tweaked here or there, convinced I had done something to cause the breakage...yeah...nothing was working. So I pulled out my machine booklet and did a bit of troubleshooting...tweaked the tension, rethreaded, cleaned, rethreaded...everything. Still kept breaking. Last shot...figured it had to be the thread. So I picked out (well Girl did a bunch too) all that I had managed to get done, ran to the store on Sunday, grabbed some go-to Mettler Metrosene in a nice blue shade...and back to work. Did fine at first...and then guess what...top thread snapping all over the place! So pulled out the manual again...and read a line I hadn't noticed before...change the needle...and I did...and it worked! (Let's just say there was quite a bit of colorful language shared at this moment...and I'll keep it off of here to be safe!). And it was off to the races. So I finally got the quilting done on Tuesday (pic of back):
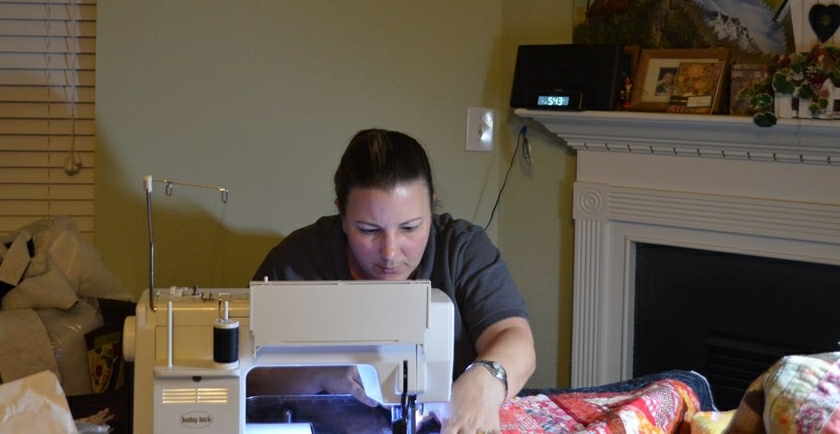
(the little rat's nesty spot is intentional...and a different part of the story entirely...just consider it "creative license") Unfortunately I didn't get a chance to work on the binding the same day...so I figured I'd finish on Wednesday (still plenty of time before the deadline!)...yeah...didn't get home until after 8 pm (and no way I could do binding and still get up on time this morning!)...so I figured...I can leave work early on Thursday (cause I worked late on Wednesday), and I'll have plenty of time to get the binding done...yeah...didn't get home til 4:30 (deadline to enter in the QAL finish was 6 pm)...and so...the race was on and here comes pride in the back stretch...(pic by Girl):
(at the time she took the pic, she told me I was looking "kinda intense").
And at 5:48 pm...DONE! Binding complete!!!! So then we had the mad rush to take pics, upload, post a quick post (to be edited after to add this story) so that I could link up in time! (and I didn't even mention the fact that one contact lens was begging to be taken out...my left eye was twitching and itching like crazy...and apparently I've rubbed it all day so now it looks swollen...oh wait...just did mention it!).
Had a BLAST with this QAL...loved every minute of it...until it was time to quilt...and well...at least I know how fast I can actually cut and sew binding strips together, press them, and get them on a quilt when I'm really pushed for time!
Monday, November 12, 2012
one of those days...
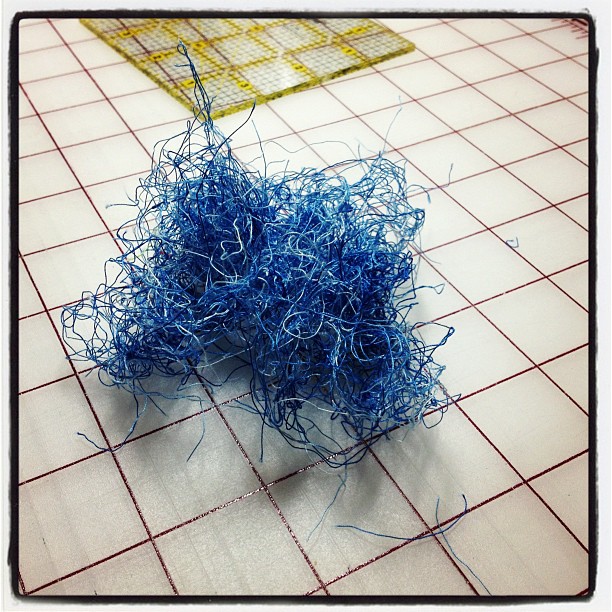
this picture from what I spent a good part of Sunday doing (until I managed to con Girl into doing it for me!) pretty much spells out how my day went today
time to rip it out and start over again...figuratively...did that literally yesterday! ahhh...tomorrow is another day! :)
time to rip it out and start over again...figuratively...did that literally yesterday! ahhh...tomorrow is another day! :)
Thursday, November 8, 2012
15 minute challenge...week 17
I'm running a little late with this week's post, but it's been one crazy week! Linking up at Life in Pieces.
Tuesday: access all areas pouch
Wednesday: none (Halloween!)
Thursday: access all areas pouch, finished quilting T-shirt quilt
Friday: none
Saturday: t-shirt quilt finished, scrappy stash top finished, finished final 11 rainbow string blocks; hexies
Sunday: started piecing together the rainbow strings quilt; hexies
Monday: none
4 of 7, so not too bad. There was so much going on around my house (all good, all work related) so there were days I was barely home to even consider sewing! Hope to get more done this week!
Sunday, November 4, 2012
A finish! (and some other stuff)
I got quite a bit accomplished sewing-wise yesterday! First up, I can finally call the T-Shirt quilt FINISHED! I had started quilting this one in mid-October, but it felt like such a struggle, so it got tossed to the side to wait for a bit. Thankfully I figured out WHY it felt like I was fighting the quilt and my machine (one little setting was not correct) and I was able to quickly finish it up on Friday! So I made the binding yesterday and got it bound (I machine bind all of my quilts, binding is my least favorite thing to do, so I want it done as quickly as possible!). Here is the front:
and the back:
I FMQd some "scribble" around each T-shirt block and then just for fun, did a very rough trace around each Longhorn. After it was finished, I promptly presented it to Girl who has an icky cold! (She was very happy!)
After I finished up the T-shirt quilt, I got to finishing my 36 Rainbow strip blocks, so here they are:
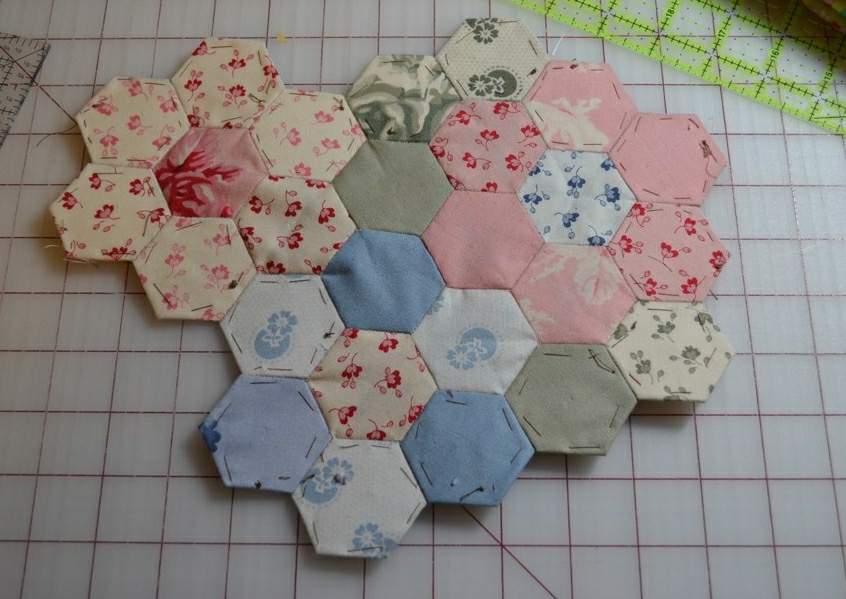
And then I took a break from the machine and watched some Pirates of the Caribbean with Girl (we are now on the 3rd movie) and did a bit of hexie work while watching:
and after watching the 1st pirate movie we jumped into the 2nd and finished up the Scrappy Stash QAL quilt top:
I originally was going to use some Kona Med. Gray to finish it off, but found I didn't have quite enough in my stash, so instead used some Designer Solid in Manatee that I happened to have quite a bit of stashed away.
so now, just need to work on getting the backing done and then baste it and quilt it!
A few errands to run today, and then hopefully right back into the stitching! Right now I must dash, Girl is waiting to start pirates #3 for me!
Saturday, November 3, 2012
Stitchy Saturday plans...evening update in red!
Girl is feeling a bit under the weather today, so it's a hang around the house in our jammies day! So my plan is to clear up some UFOs that are laying about!
1. T-shirt quilt - needs binding - DONE!
2. Mom's California Girl - needs backing, basting, quilting and binding
3. Scrappy Stash QAL - finish quilt top And then all the same stuff as item 2 quilt top done!
4. Rainbow strings - finish all the blocks (only 11 left to go!) and then all the same as item 3 - now only 7 left to finish! 36 of 36 complete!
5. Fall table runner - it needs the same as item 4
Ok. That's a bit of a list, but nothing too terrible. The order to be worked will probably be 1, 3, 4, 2, 5. 3 and 4 are Christmas gifts that must be mailed out so I really have to get those done first. 2 was something I started on back in May that I would really like to get to my Mom by Christmas. 1 needs the least so it will get done first! (And it belongs to Girl, and since she is feeling a bit crummy, I must get it done!). 5 is wish list kind of stuff, so if it gets done great, otherwise, oh well!
This list is not all encompassing of the stacks of UFOs lying around my machine, just the ones with highest priority!
So off I go! I may update the list periodically through the day, so check back later!
Thursday, November 1, 2012
Book Review
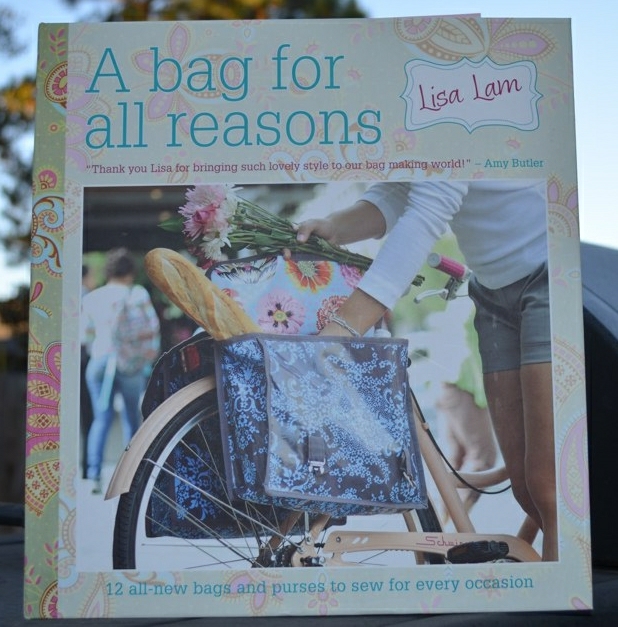
So, some of you might have noticed me go a little bonkers making some bags lately. I've REALLY enjoyed making those bags..I mean REALLY! But a girl can only make so many Ayumi bags (not that I'm going to stop making those!) before she might want to branch out and try another kind of bag. So while at B&N this weekend...I picked up this book:
and WOW! WOW! Seriously...WOW! What a FANTASTIC book! Ok...let me start out by saying that I NEVER planned on making bags, never thought it would interest me, no way-no how. However, after the Ayumi bags, I really wanted to do more. But I really needed a recipe with clear, easy to follow instructions. And this book has them!
The first portion of the book has a great breakdown on some basics like understanding patterns, inserting different types of zippers, constructing different straps, use of snaps, etc. All very helpful for me as I haven't worked with any of them before.
So after reading the book cover to cover pretty much (SO MANY CUTE BAGS!), I decided to try out this one:
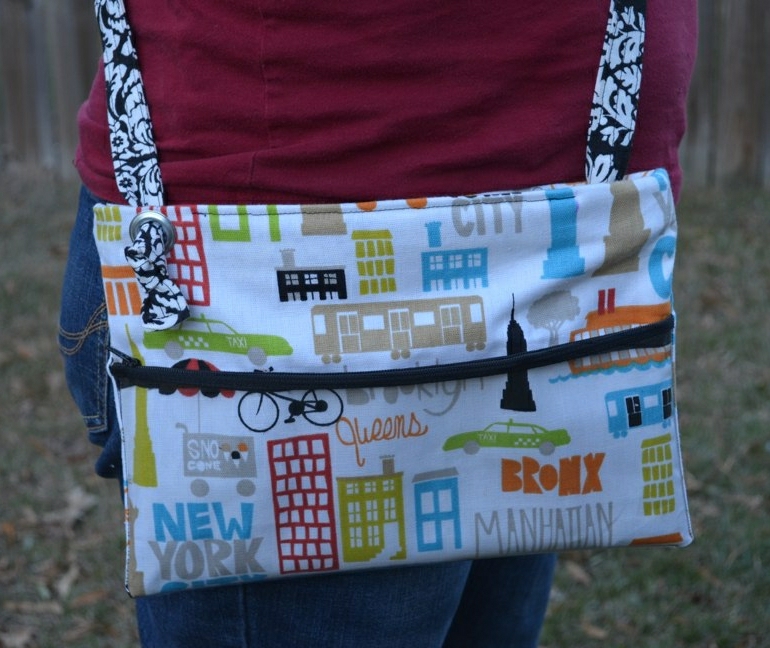
The Access-All-Areas Pouch. And ta-dah, here it is (modeled by Girl, who is now the bag owner as she thought it was adorable and fantastic and some other stuff):
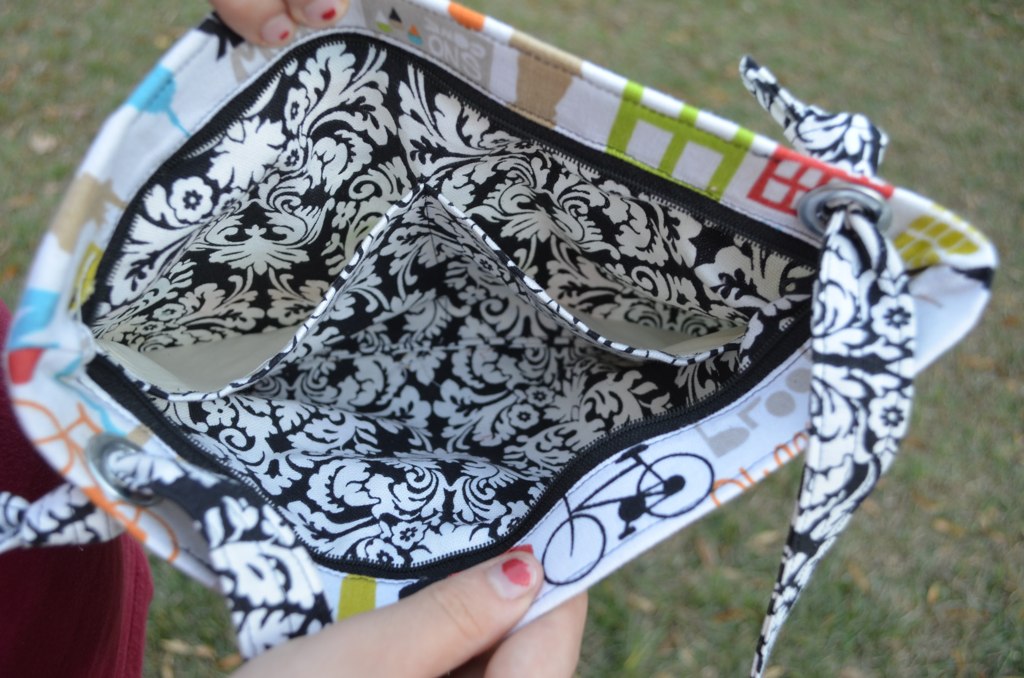
and the inside:
I must confess, I didn't cut the fabric properly, so I didn't have quite enough left to make the inner pockets as called for in the pattern. So after reading it a few times, I figured why not go with what I did manage to have left. So I ended up adding a little Pellon 911FF to give it a little more structure (not much, just a smidge more) and lining the pocket with some muslin I had buried in my stash. and the pocket worked out perfectly (just the right height for a cell-phone).
The instructions were very easy to follow. I worked with clear vinyl...yeah definitely a new experience there, and now I feel ok doing it. I was able to add two zippers (in two different ways) and played with a new Pellon (for me), Pellon 72F, which I found to work great for the "extra-stiff, double-sided fusible interfacing" called for in the book.
The ONLY complaint I would have is really against me, I didn't read the instructions properly for the eyelets, so the bag almost got scratched out of frustration with the eyelet not setting properly.
I'm loving this book! I'm looking forward to making another bag out of the book (in particular the Too Cool for School Satchel!). I very highly recommend this for anyone interested in making bags!
Legalese:
I purchased this book myself, on my own. I was not provided this book nor compensated in any way for this review. All opinions presented are MY OWN!
